I didn’t know CSS when I started, but I seem comfortable with it now, so I figured I’d give a short crash course for beginners. Feel free to post your own little guides in the replies.
Step 1: Using “Inspect” in Chrome browser.
Inspect is my #1 tool for Custom CSS in dynalist. It’s built into the Chrome browser, and very useful. Let’s dive in.
Open a dynalist document in Chrome. Zoom into a node. At the top you see the breadcrumb path Document > Node. If you hover over the node breadcrumb, it underlines. Let’s say we want it to not underline. Right click the breadcrumb, and click Inspect.
You should now see elements and styles in a browser sidebar.
Notice how some code is highlighted, that means it’s what you right clicked. Now look above it for what class it’s nested under. class="DocumentBreadcrumb-item . That is the class we want to re-style. The word “class” means “what it is”. Everything that occurs more than once is usually given a class name. This lets you apply styles to all of them at once.
In the styles area of the sidebar, we also see:
You can actually edit that code and see the results live on your document. If you then paste your customized code in the Custom CSS box in Dynalist settings, it will keep your changes.
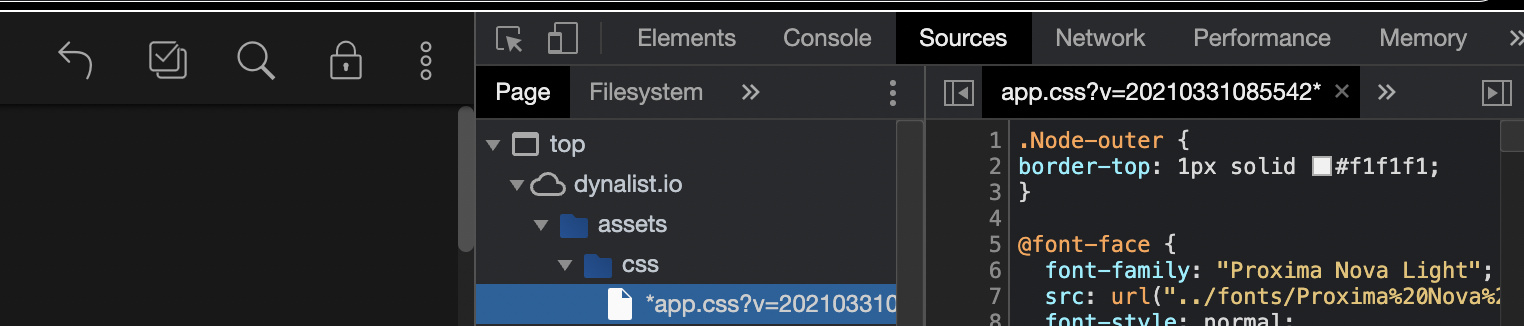
Also, you can see a link, meaning this CSS is stored in app.css, so let’s take a closer look to learn what’s going on.
Step 2: Lets look at the default CSS
https://dynalist.io/assets/css/app.css
Here you can see a lot of what the dynalist developers have stylized, and their default values. This is another good starting point for customizing things you didn’t realize you can customize.
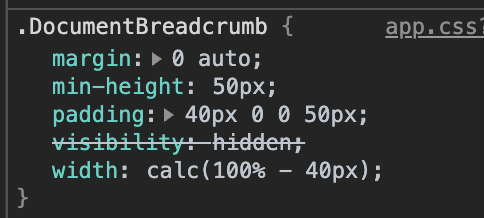
Let’s search for .DocumentBreadcrumb-item and we find:
.DocumentBreadcrumb-item:hover {
  text-decoration: underline;
}
CSS code is made of
- a class selector (the part before the { )
- stylings ( the part inside the { } )
- :hover means the mouse is on it. You can delete that part if you don’t care where the mouse is.
Translating the code to plain english - everything with class .DocumentBreadcrumb-item for which the mouse is hovering over is selected, and an underline is applied.
Let’s google “text-decoration” to learn what that CSS can take. Google says it also takes none, so let’s use that.
Step 3: Apply the changes
Don’t paste it into the Custom CSS box of the settings popup in Dynalist Pro yet. Just add to the CSS in the chrome developer tools until you get it right. THEN cut and paste it in the settings of dynalist once, when you’re satisfied. It should make the underline when you hover a breadcrumb go away.
.DocumentBreadcrumb-item:hover {
  text-decoration: none;
}
Step 4. More advanced selectors
You can also select classes that are nested children of other classes. For example, let’s select mindmap content, but ONLY the ones that are children of checked nodes. Let’s style them to not render. Now, all the checked nodes won’t show up in mindmap view.
.mindmap-node.is-checked > .mindmap-content {
  display: none;
}
There are plenty more advanced CSS tricks, but this should get you started.
Step 5. Reply your own CSS guides, tips, and tricks
I just wanted to get a thread started. This is hardly a perfect guide, so I hope folks reply with their knowledge too ![]()
And if you write some Custom CSS you think others will be inspired by, post it in this other thread Post your current Custom CSS (with comments)!